
When I lived as a market farmer in Washington State, Saturday afternoons were a celebration of sorts. After a busy week of tending and harvesting up to 200 different herbs and vegetables, I’d invite the community to a weekly farmstand. I’d begin preparations early and by 11am the vegetable display was primed with puffed bags of lettuce and tall, carefully stacked pyramids of freshly picked tomatoes. It was a relief to open the farm gates and finally be able to sit and chat with friends and neighbors.
Locals would gather in the shade of the cedar farmstand, cradling cucumbers and onions, and ask their most pressing gardening questions. The most common one, by far, was, “how can I grow food like this at home?”
“It’s easy!” I’d reply, and groans almost always followed. They told me stories about ripping out huge sections of lawn only to give up because planting vegetables was too much work. Or about the uncontrollable problems caused by piling fresh soil onto a bed without first pulling out all the weeds. They complained about soil too poor to support the growth of healthy plants.
I had to admit that what seems easy to me, someone entirely oriented around growing food, is of course much harder if you’re more accustomed to growing grass. So over time I learned to break down my “It’s easy!” into small steps that can lead to a starter Climate Victory Garden.
So here’s my advice: pick a good spot to plant, start small, and focus on nourishing healthy soil. It takes work but, honestly, it is easier than you think.
Pick a location.
An ideal planting bed gets plenty of sun, has easy access to a water spigot, which helps cut down on the time and hassle of watering, and can be seen from your home so there’s less of a chance you’ll forget about it. But if your only bet is a plot that’s heavily shaded and bone dry, don’t worry about it. It just means you’ll have to work extra hard to build good soil, and pick plants that will thrive without much sun. In short, it can be done!
Prep your garden bed.
Start small to keep the workload under control. If you end up wanting more space you can always add onto it later. While garden beds can be any size you want, you will want to consider the width. Namely, can you easily reach across it to tend plants?
Stepping on beds will compact, or squeeze together, soil particles. Without air pockets, it’s harder for soil to absorb water and store nutrients. Compacted soil also crowds out all those good organisms that break down debris, ward off soil-borne pests, and tunnel through the soil so that plant roots can stretch out.
Some gardeners like to head to the hardware store to buy wood, build a box, and fill it with soil. I’d rather skip the work and expense of that approach, and just build a bed on top of the ground using one of the following three techniques.
1. Sheet mulch your plot.
You’ll need cardboard or newspaper, leaves, grass clippings, compost, and any other organic material you can get your hands on. First, lay moistened cardboard or newspaper over your lawn or dirt. If you plan on planting large woody perennials like fruit bushes, cut a hole in the cardboard and plant your bushes through the hole. Then layer on grass, leaves, and compost in thick layers, about two inches each, and repeat until the materials run out. For best results, you’ll want to do this at least twice.
The thick mat of material not only smothers weeds, it buries seeds so future weeds are less of a problem. You may be surprised at first by the height of your bed. Give it time. Busy soil organisms will quickly shrink the pile of organic material. For now, finish off your heap with some fresh topsoil or well-aged compost if you want to plant right away. Or just let it sit and allow nature to take its course. Over time all those grass clippings and shredded leaves will decompose and morph into soil. Once it does, weed out any fresh green sprouts, and start planting.
2. Minimal to no tillage.
Breaking down soil with a rototiller is a truly effective way to tear out lawn and weeds, and it used to be one of my favorite farming activities. But then I learned it’s also an efficient way to destroy good soil structure, exposing stable soil carbon and releasing it back into the atmosphere as carbon dioxide. So I’ve given up tilling, mostly. To create a new bed, I now use a spade, hoe, and potato fork to dig up clumps of sod until the ground is bare rather than a rototiller. This can take a lot of work. The good news is you’ll only have to do it once.
After clearing out the grass and weeds, you’ll need to loosen and aerate the soil. This lets air and water enter the soil more easily so soil organisms have plenty of pockets of space to call home. Take a shovel and dig a trench along the edge of your new bed, dumping the soil in a wheelbarrow if you have one. Fill the trench by digging a new one right next to the first. As you dig the second trench, toss the soil into the first one. Repeat this process until the entire bed has been trenched and filled. After digging your final trench, fill it with the soil you set aside in the wheelbarrow. Now that all the soil has been loosened, level the bed with a rake, and it’s ready to go.
3. Just add soil.
There’s another way to prepare your planting bed: add more soil. But it’s not quite that easy. First, you’ll have to clear off the grass and weeds, as described above. Then shovel on soil from anywhere in your yard. If you don’t have much soil -- maybe your yard is too weedy, hard to dig up, or just not all that big -- buy a few bags of it from your local garden center. Make sure any soil you buy is dark brown and clear of debris. Add enough of it so your bed is three to eight inches high. Any higher and you run the risk of having soil wash away during big storms or intense rainfall, plus, it may dry out more quickly.
Prime your soil with compost.
Once you’ve eliminated any weeds and grass and built your bed, it’s time to jump-start the growing process by working compost into the top three inches of your soil. Compost is decomposed organic material that can work miracles in a garden. One small handful teems with millions of beneficial soil dwellers, from the tiniest decomposer microbes to nutrient-recycling nematodes and, larger still, soil-moving earthworms. All of these eat carbon for energy and, in the process, break down organic matter into plant-available nutrients that help you grow tasty crops. In addition, these creatures give your soil a porous, open structure so water can penetrate, instead of running off.
Note: You won’t have to add more compost during the planting process if you’ve opted to use sheet mulching or good soil from a gardening store. But you’ll still want to refresh your beds with compost each spring after your garden is established.
Have a gardening question? Send it to: ClimateVictoryGarden@GreenAmerica.org.
Or, post it on the Climate Victory Garden facebook group.
Visit our FAQ page to learn practical skills and become more familiar with carbon sequestration and growing healthy food (and soil!).
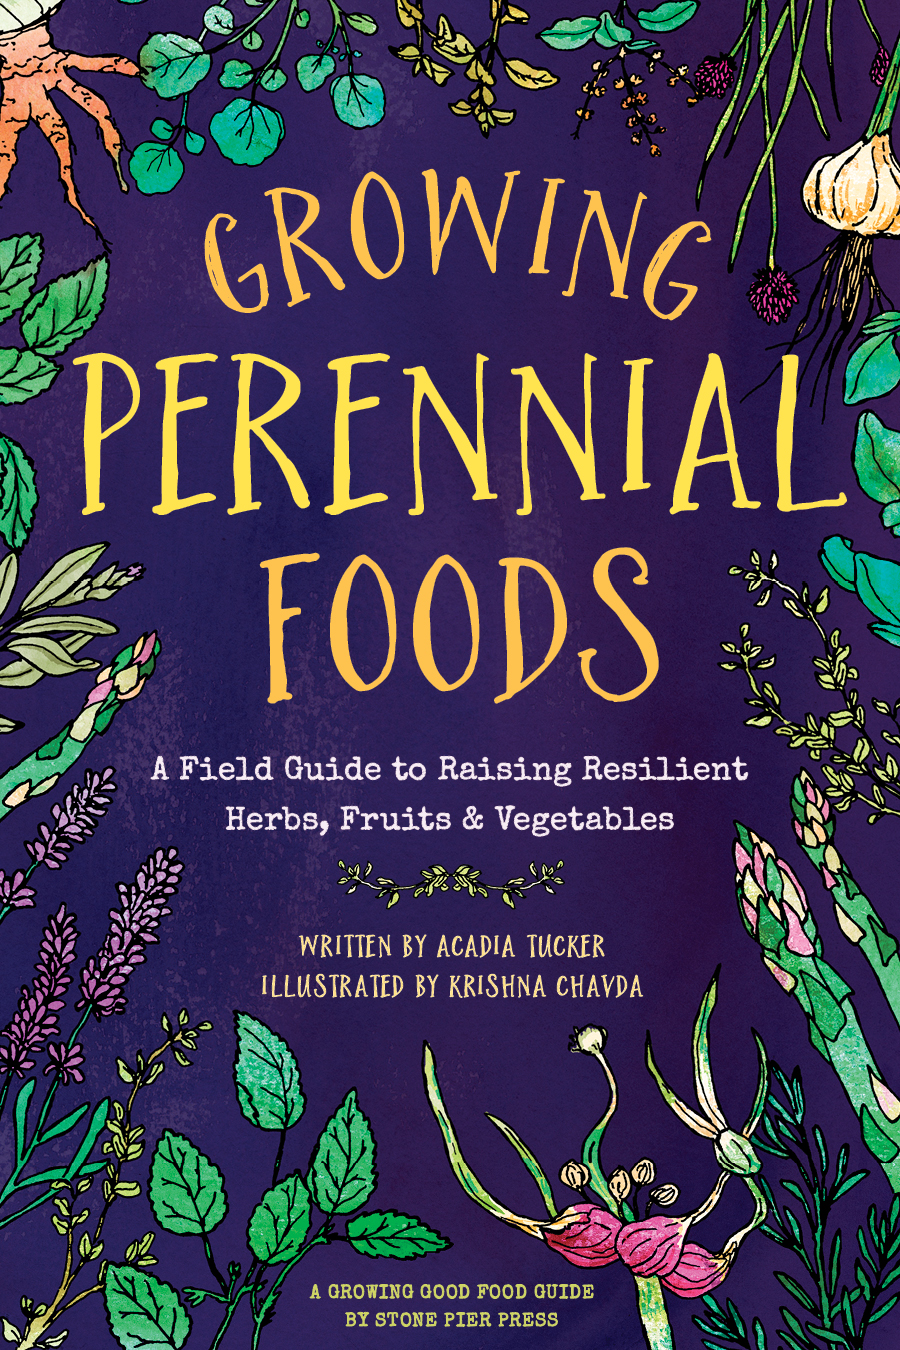
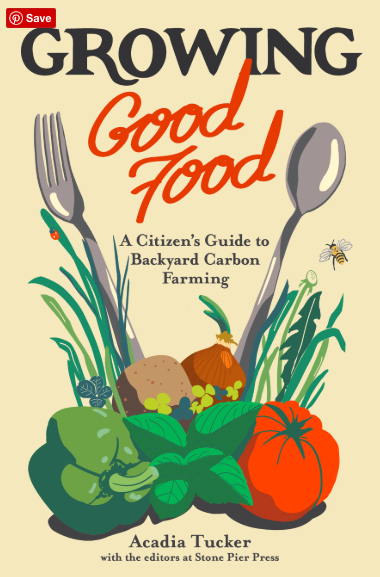
Written by Acadia Tucker, a regenerative farmer, climate activist, and author of Growing Perennial Foods: A field guide to raising resilient herbs, fruits & vegetables and Growing Good Food: A citizen's guide to backyard carbon farming.